

Making a block print
A step-by-step guide

Recently in the studio I’ve been doing a lot of experimentation with different mediums and I decided to try my hand at block printing. I’ve carved simple stamps before, but this time I wanted to see if I could make something a bit more detailed. I love how it turned out and I wanted to share the process with you!
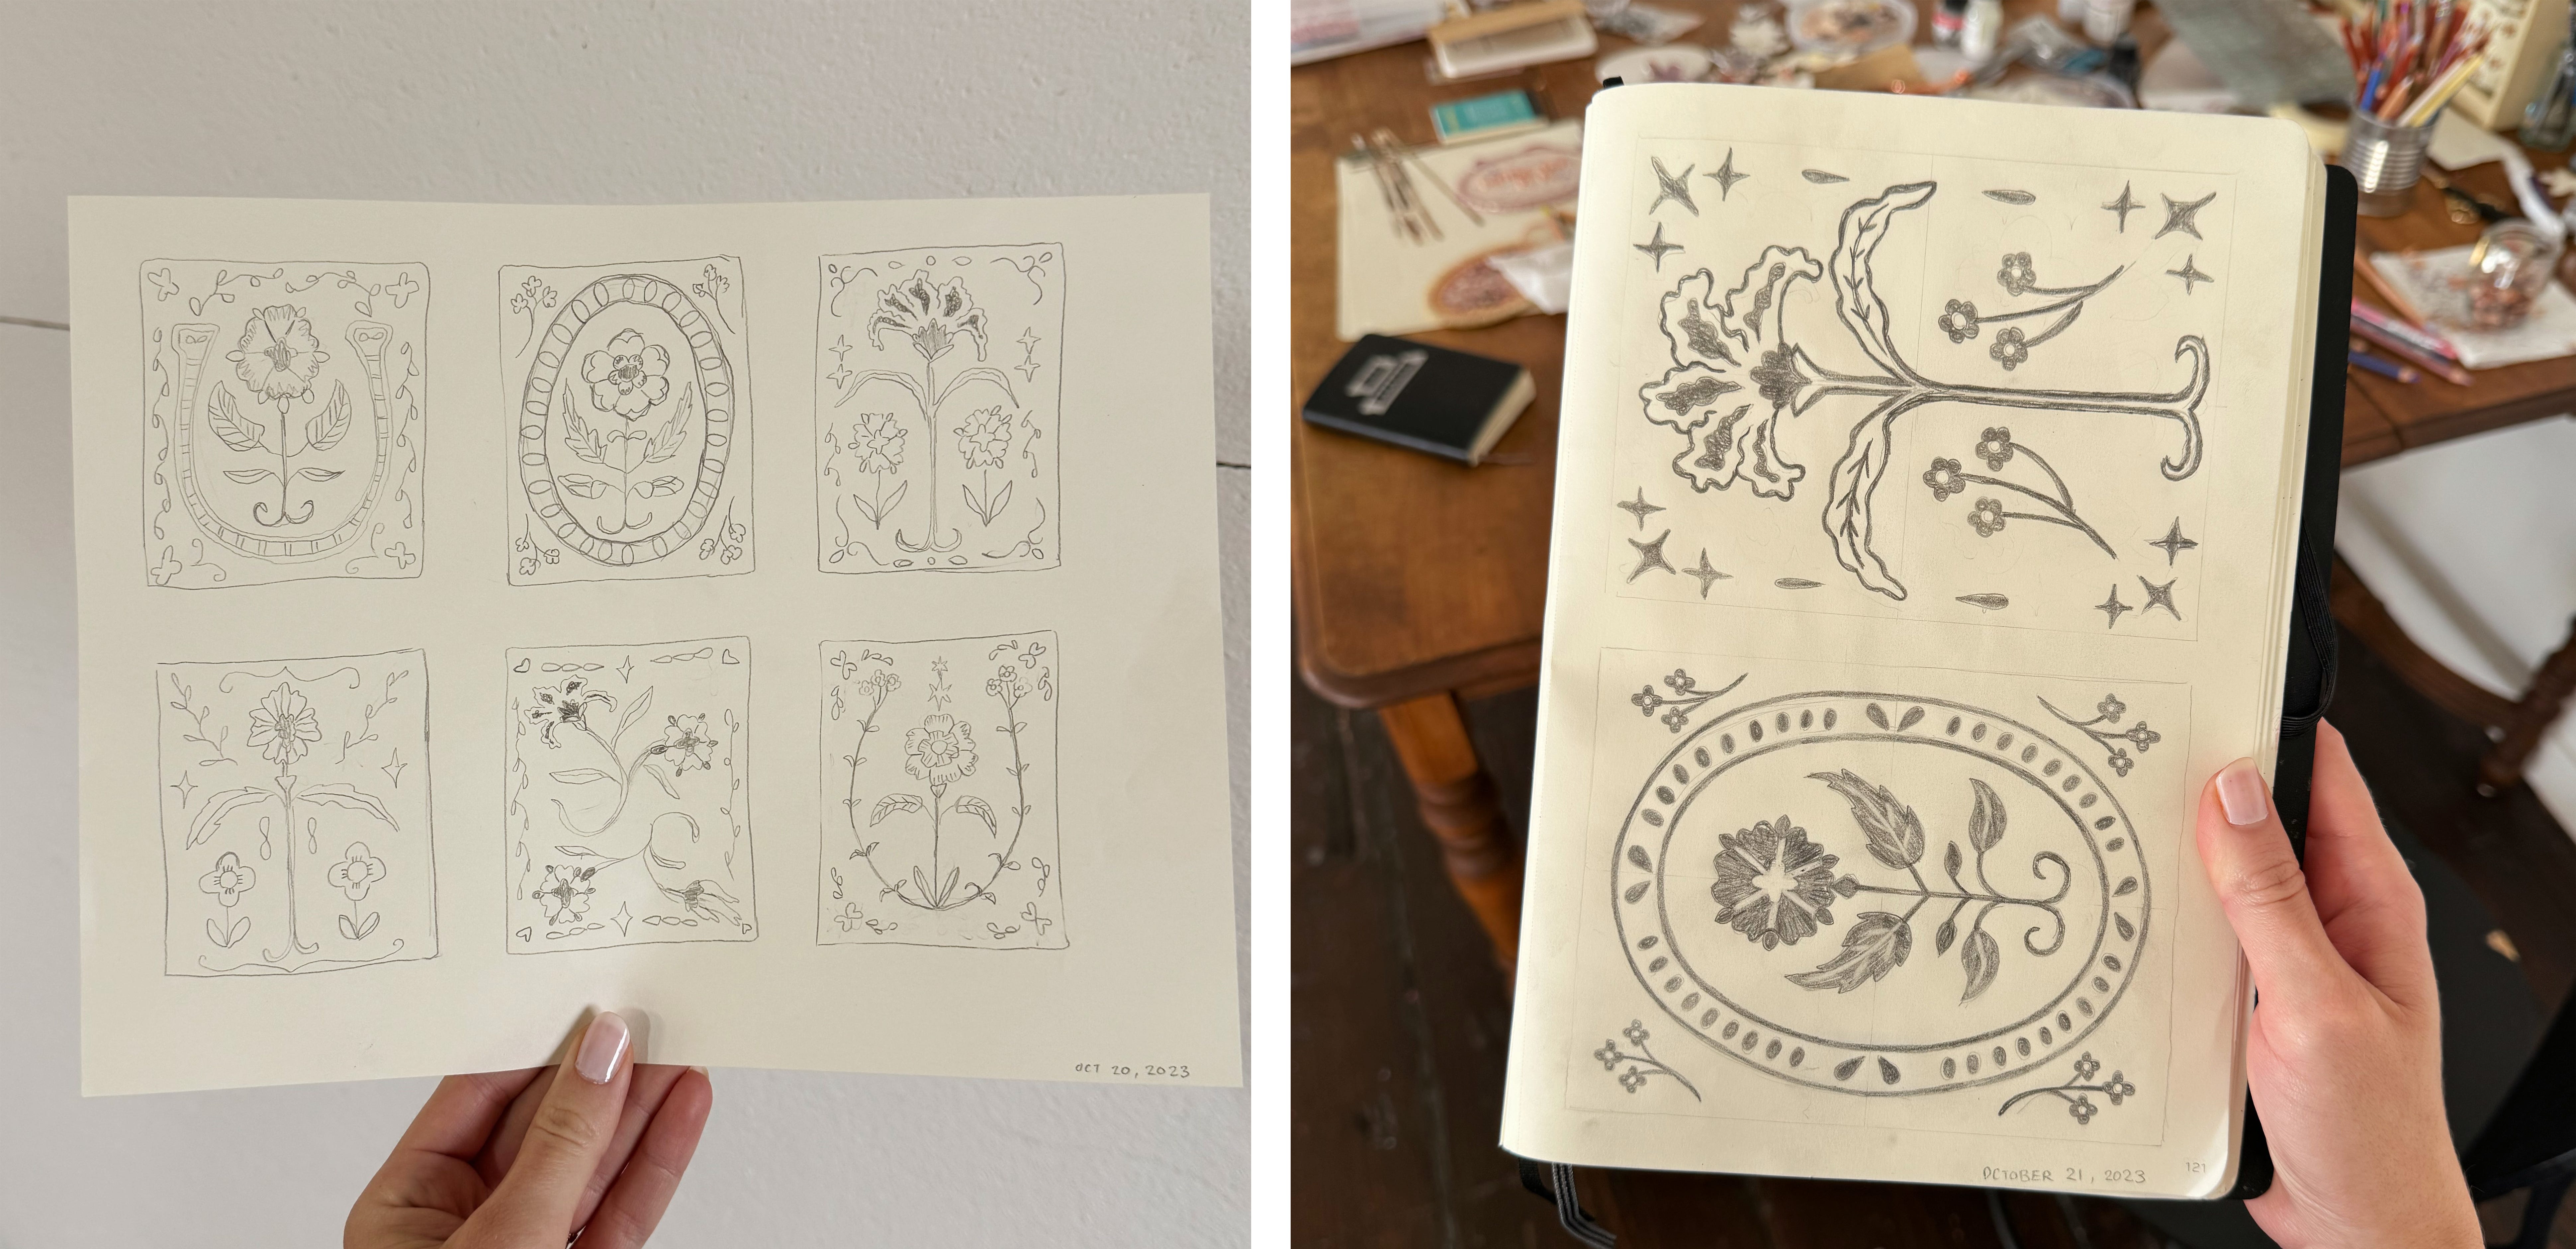
I started by doing a page of quick, thumbnail sketches to get some ideas going for the design. I picked my favorite two and drew larger, detailed versions.
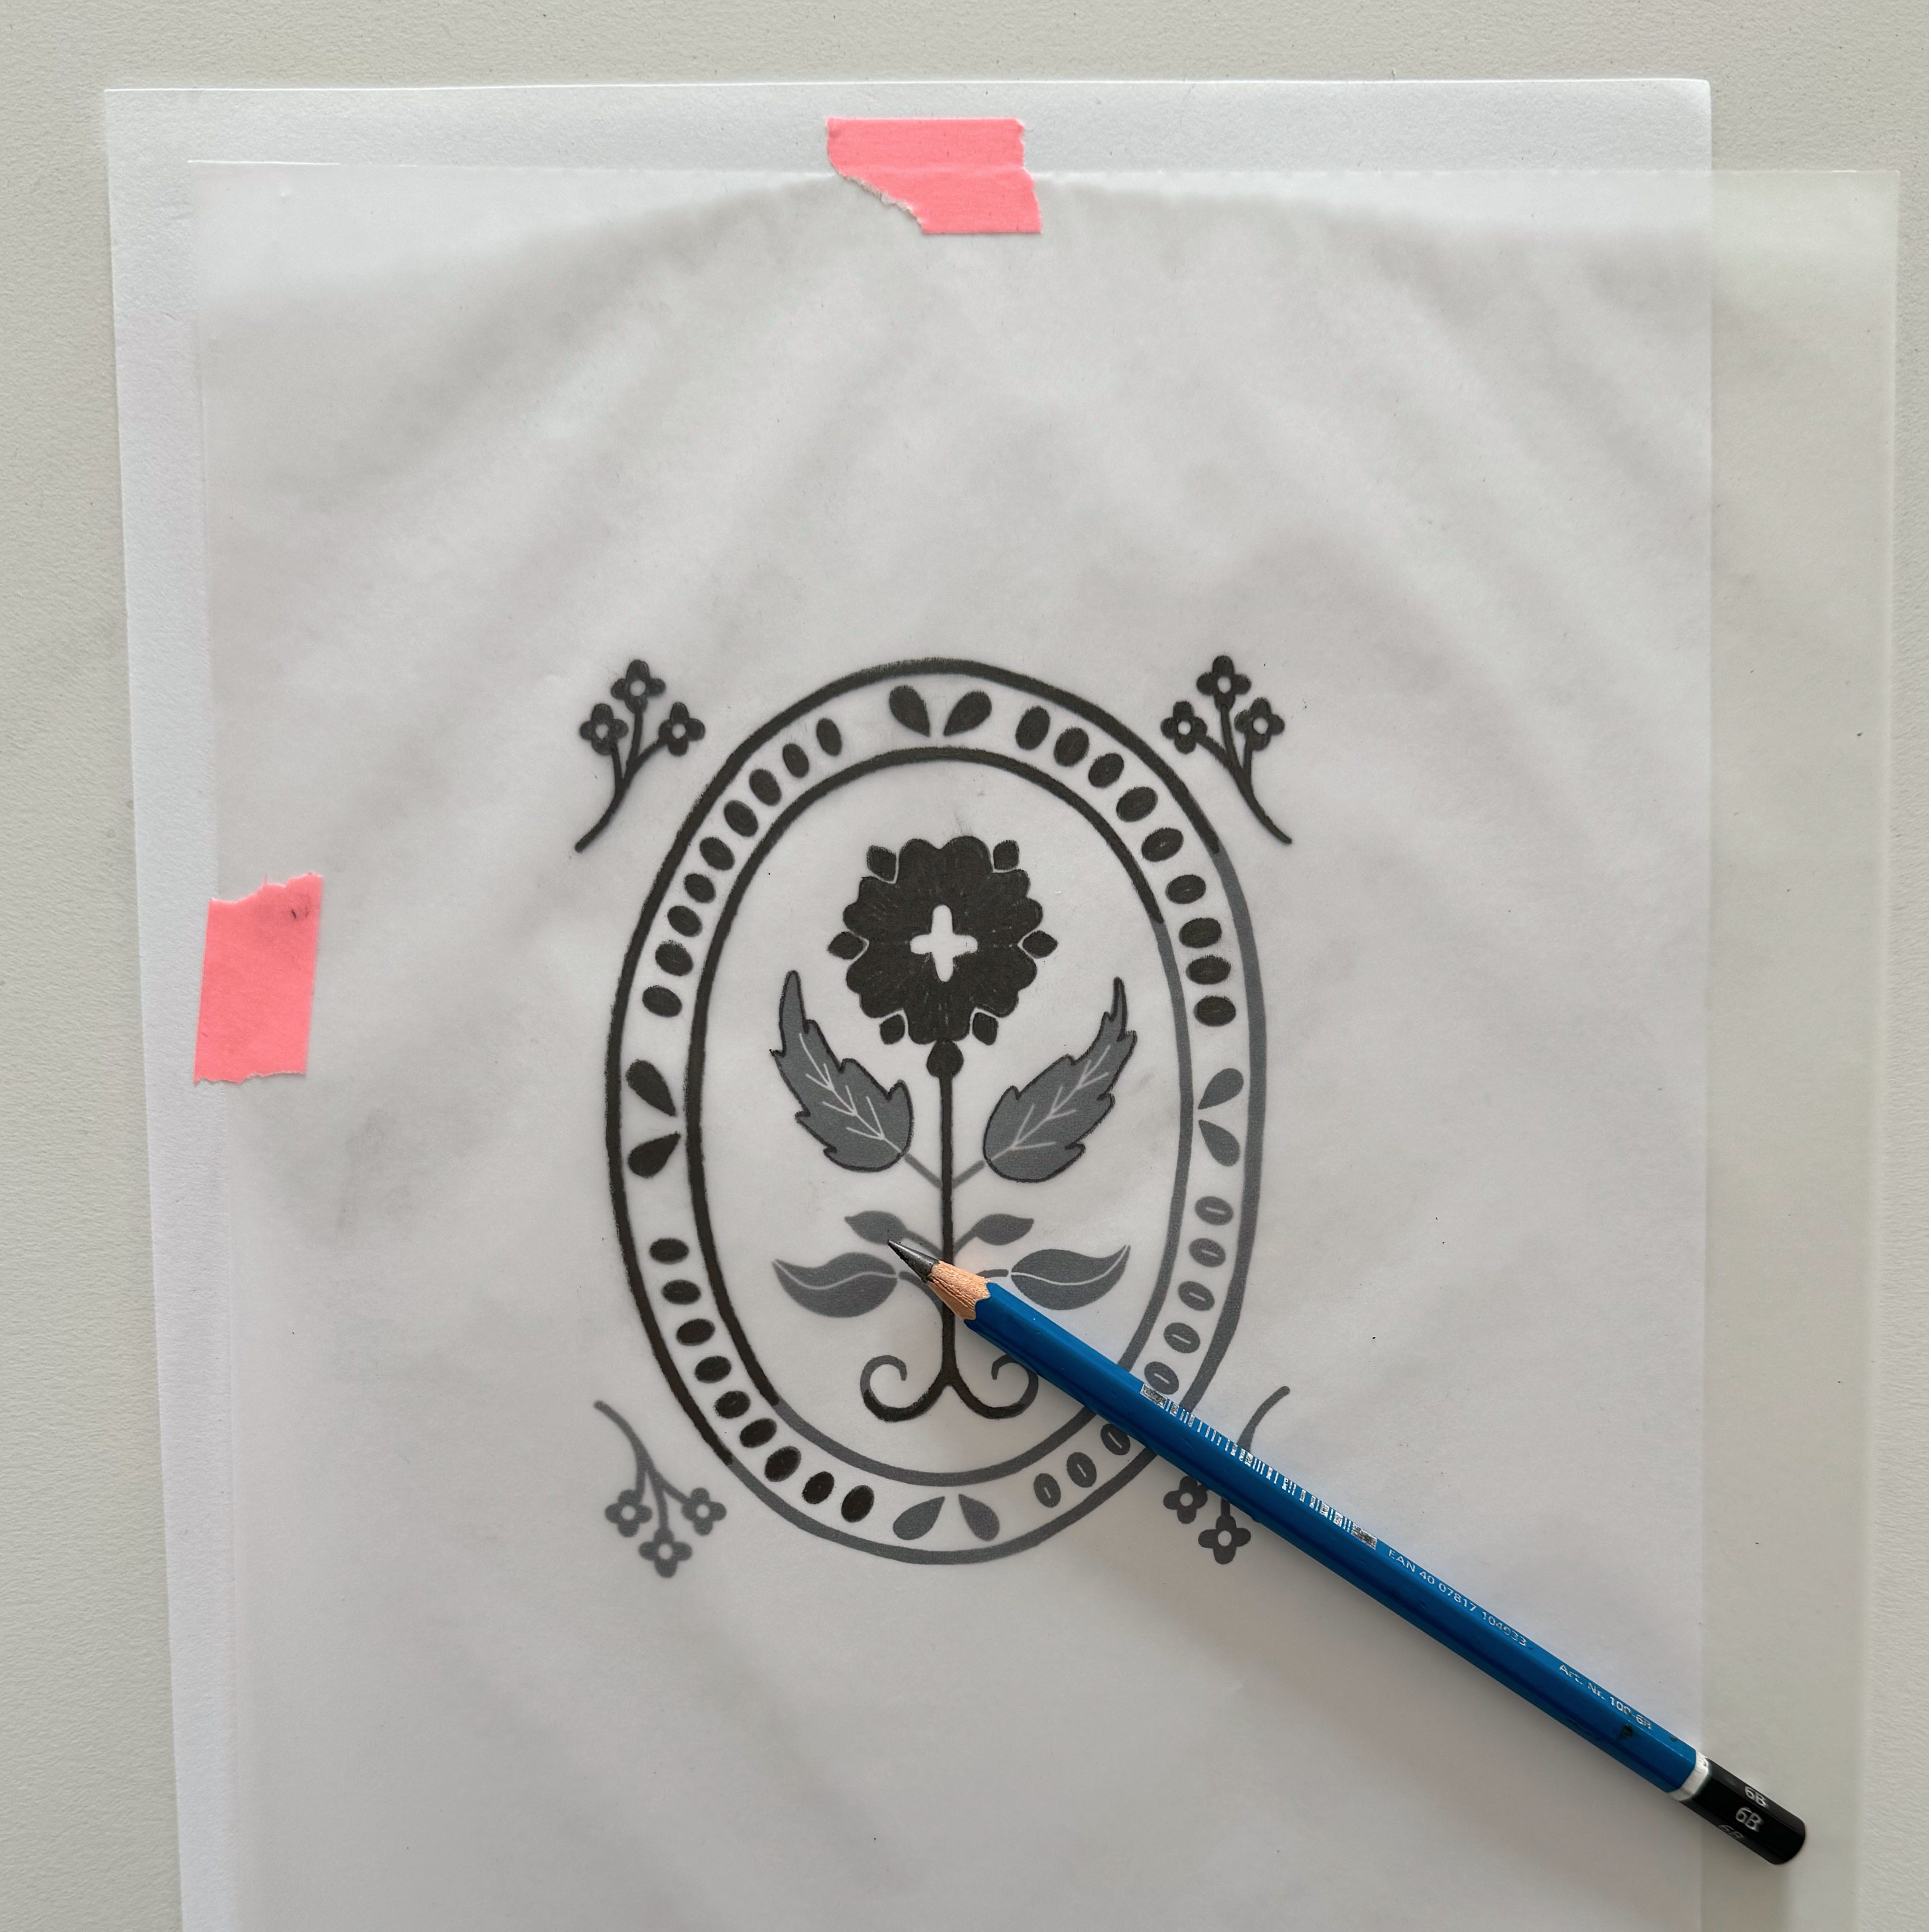
From there, I picked one of the designs and refined it until it was perfect. I put a piece of tracing paper on top of the design and copied it with a 6b pencil. (It’s important to use a dark pencil so the design can be transferred to the block)
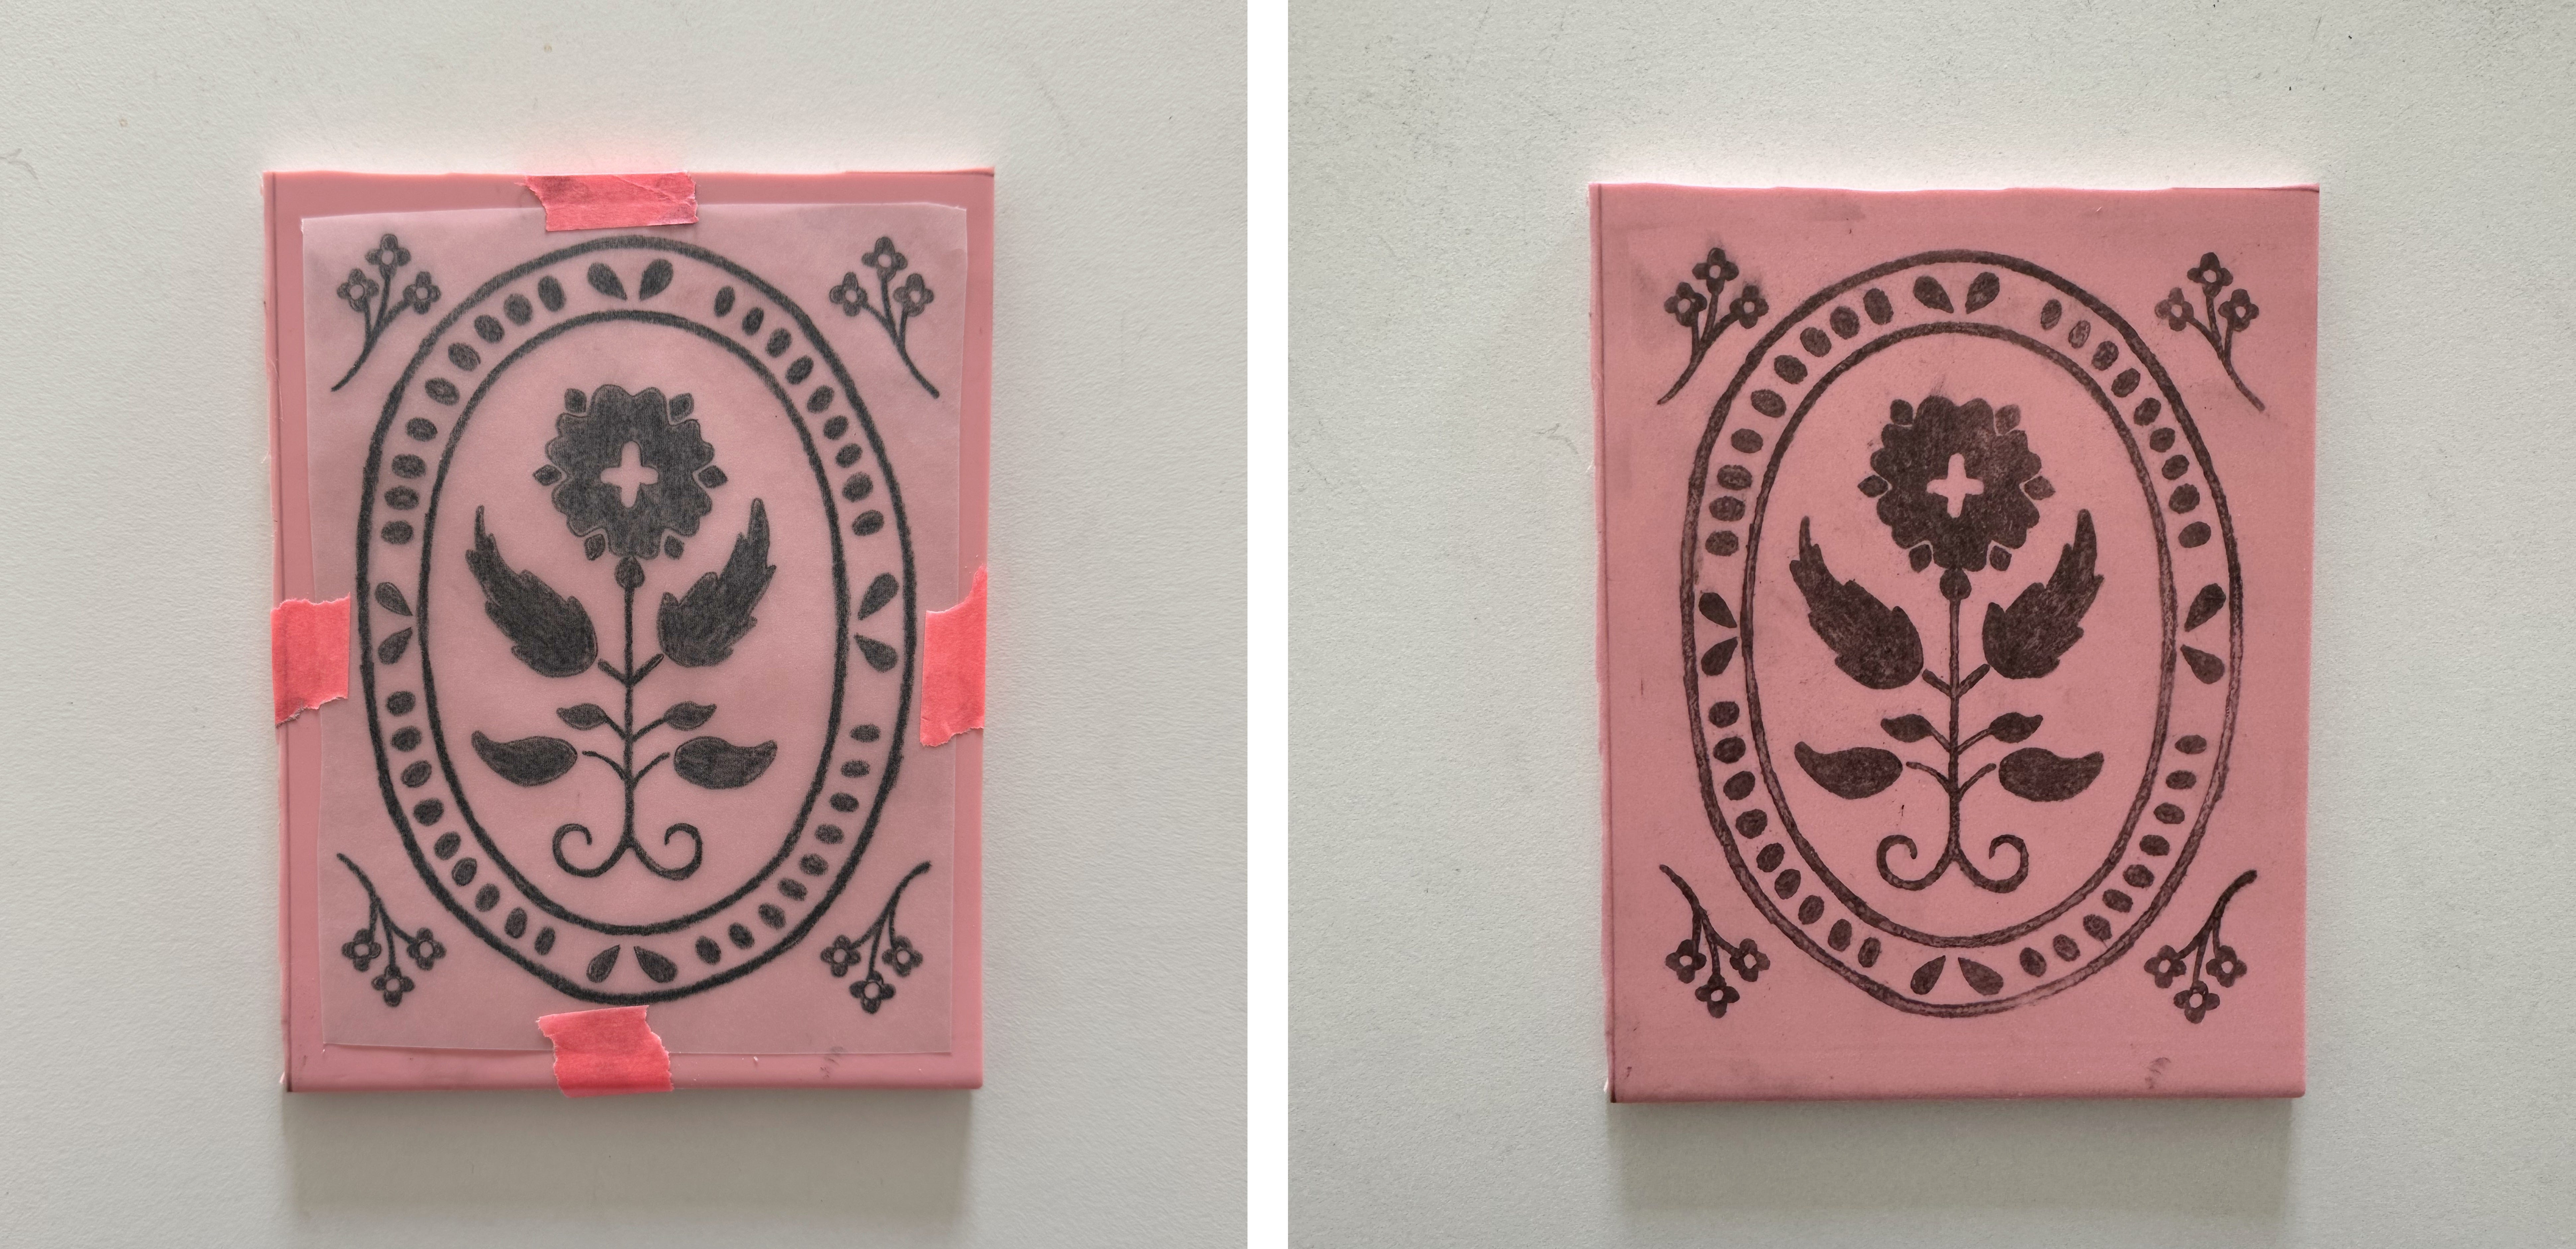
Then I taped the tracing paper to my rubber stamp block and burnished it with the back of a spoon to transfer the design.
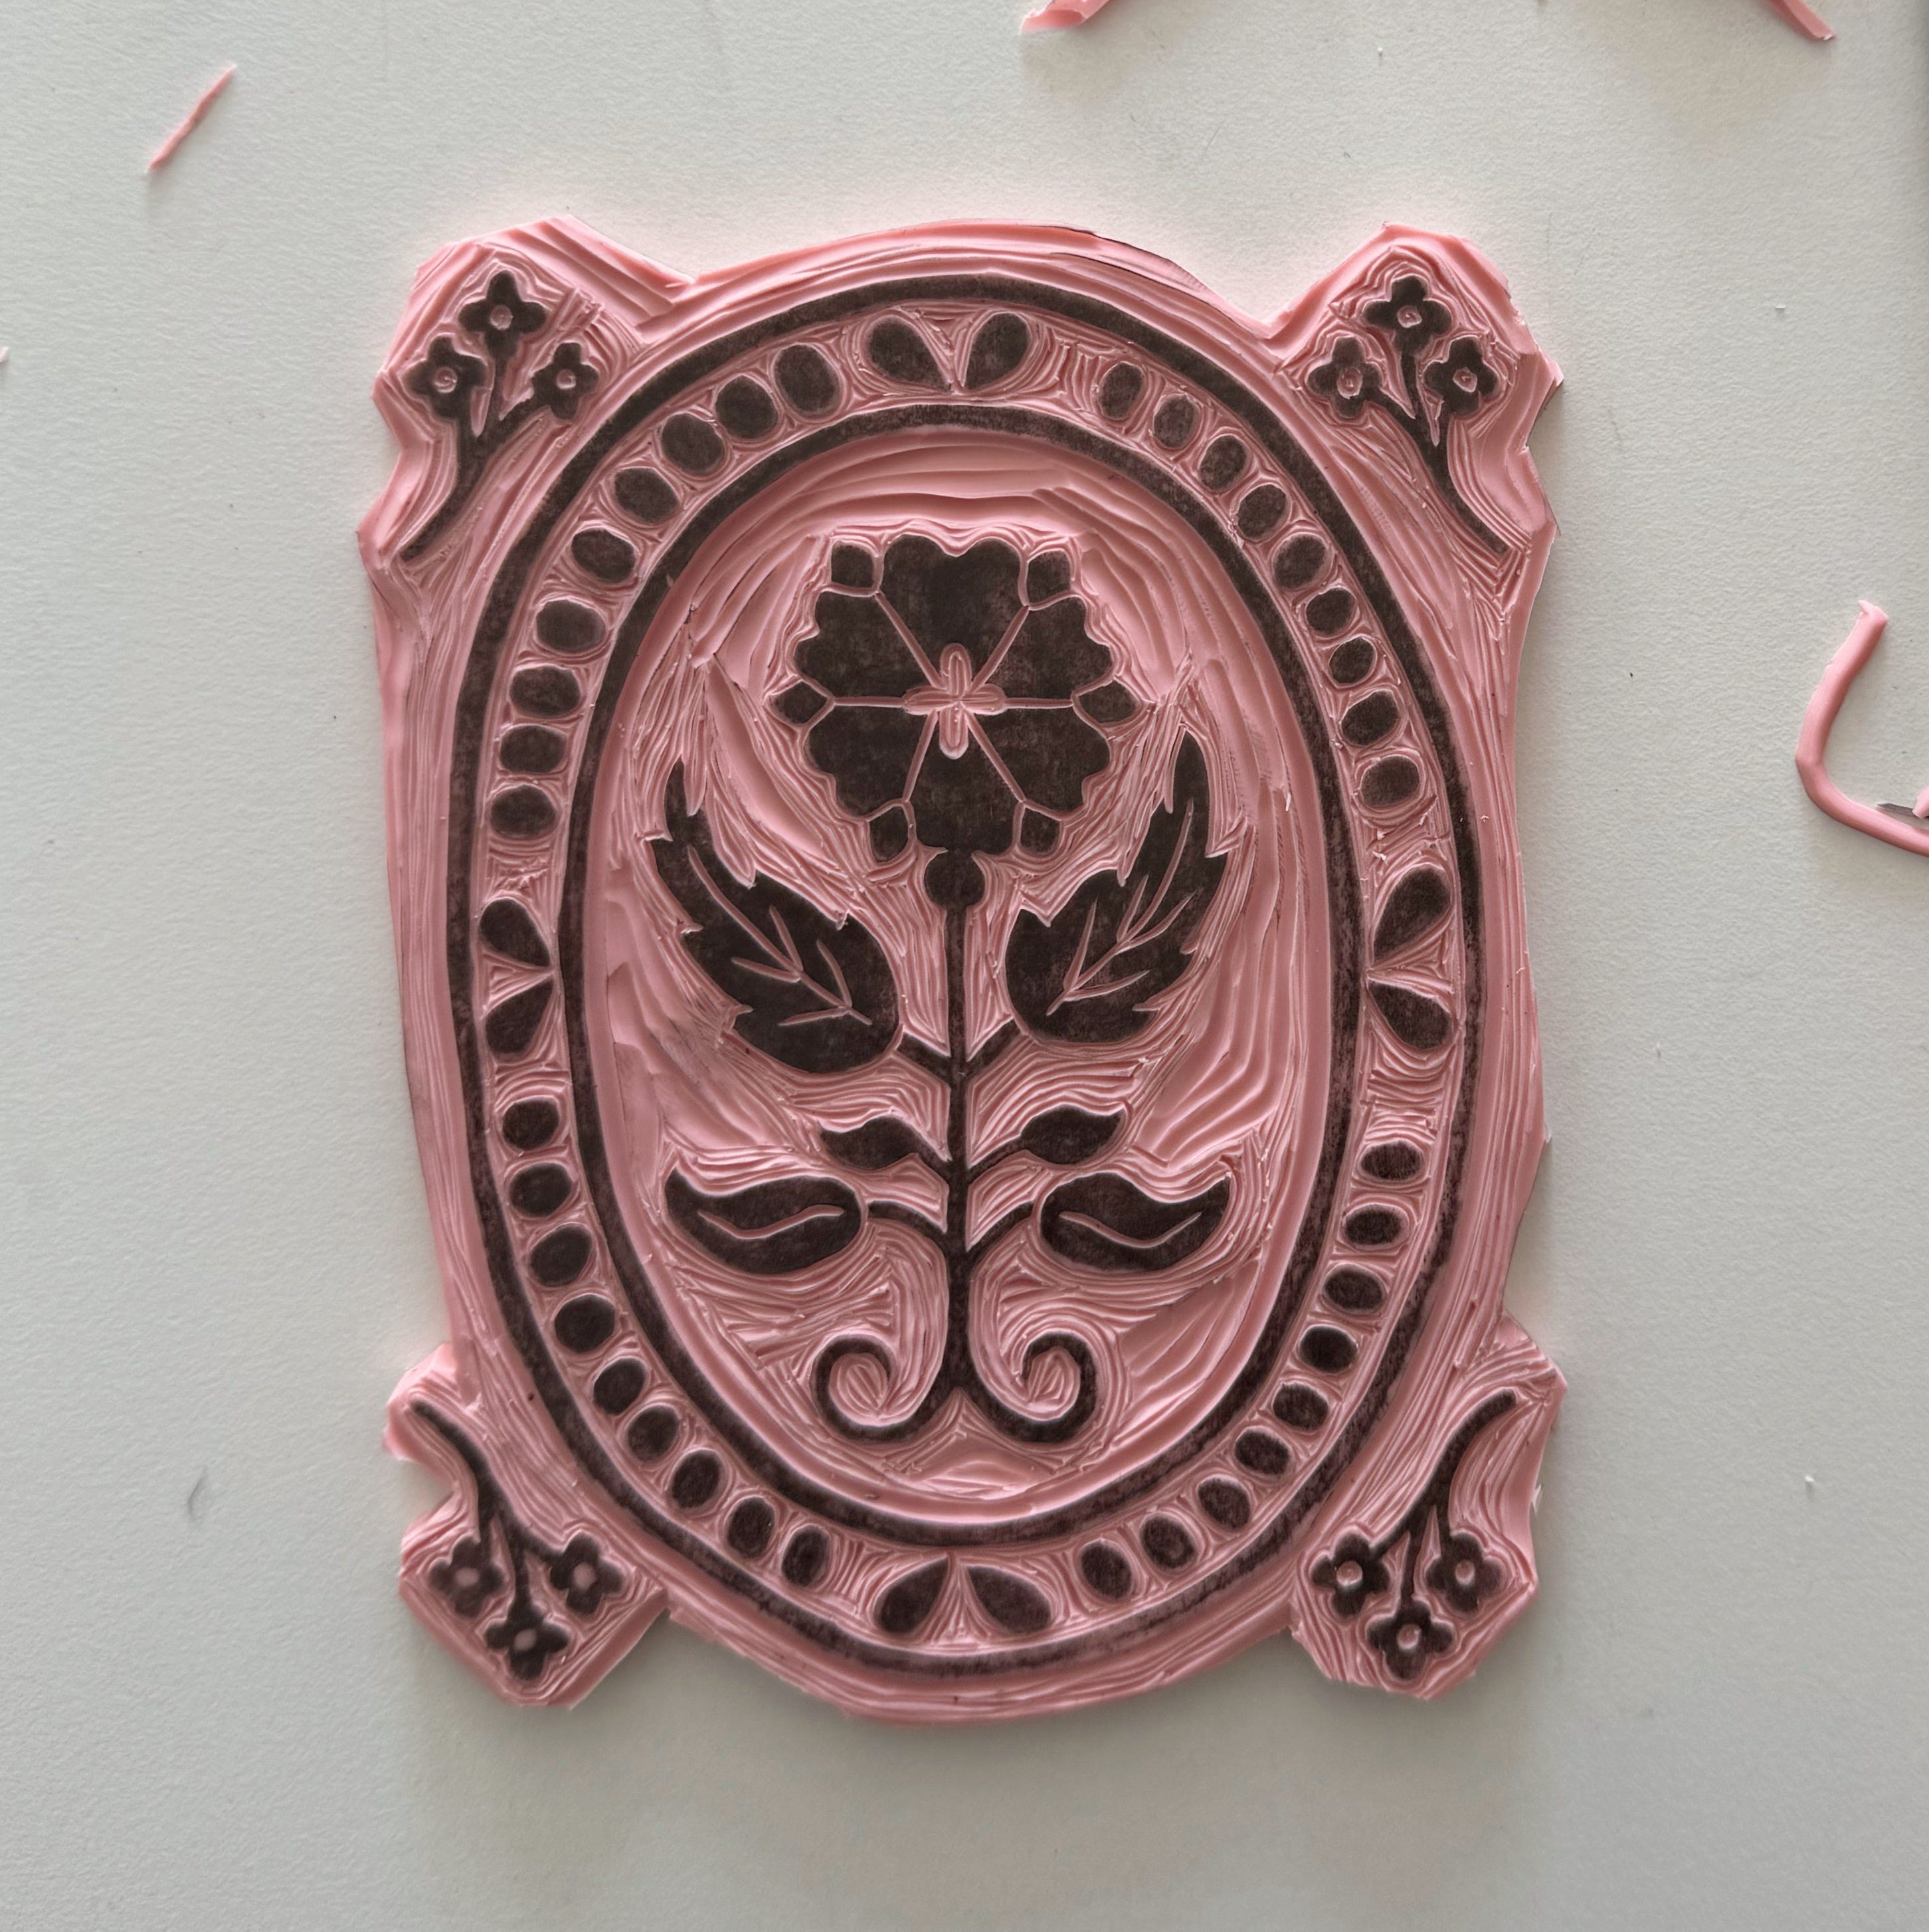
I used a Speedball lino cutter to carve the design. I use the smallest nib for most of the design and I learned that it’s best to keep the carving shallow. You can always carve more away, but you can’t add it back once it’s gone!
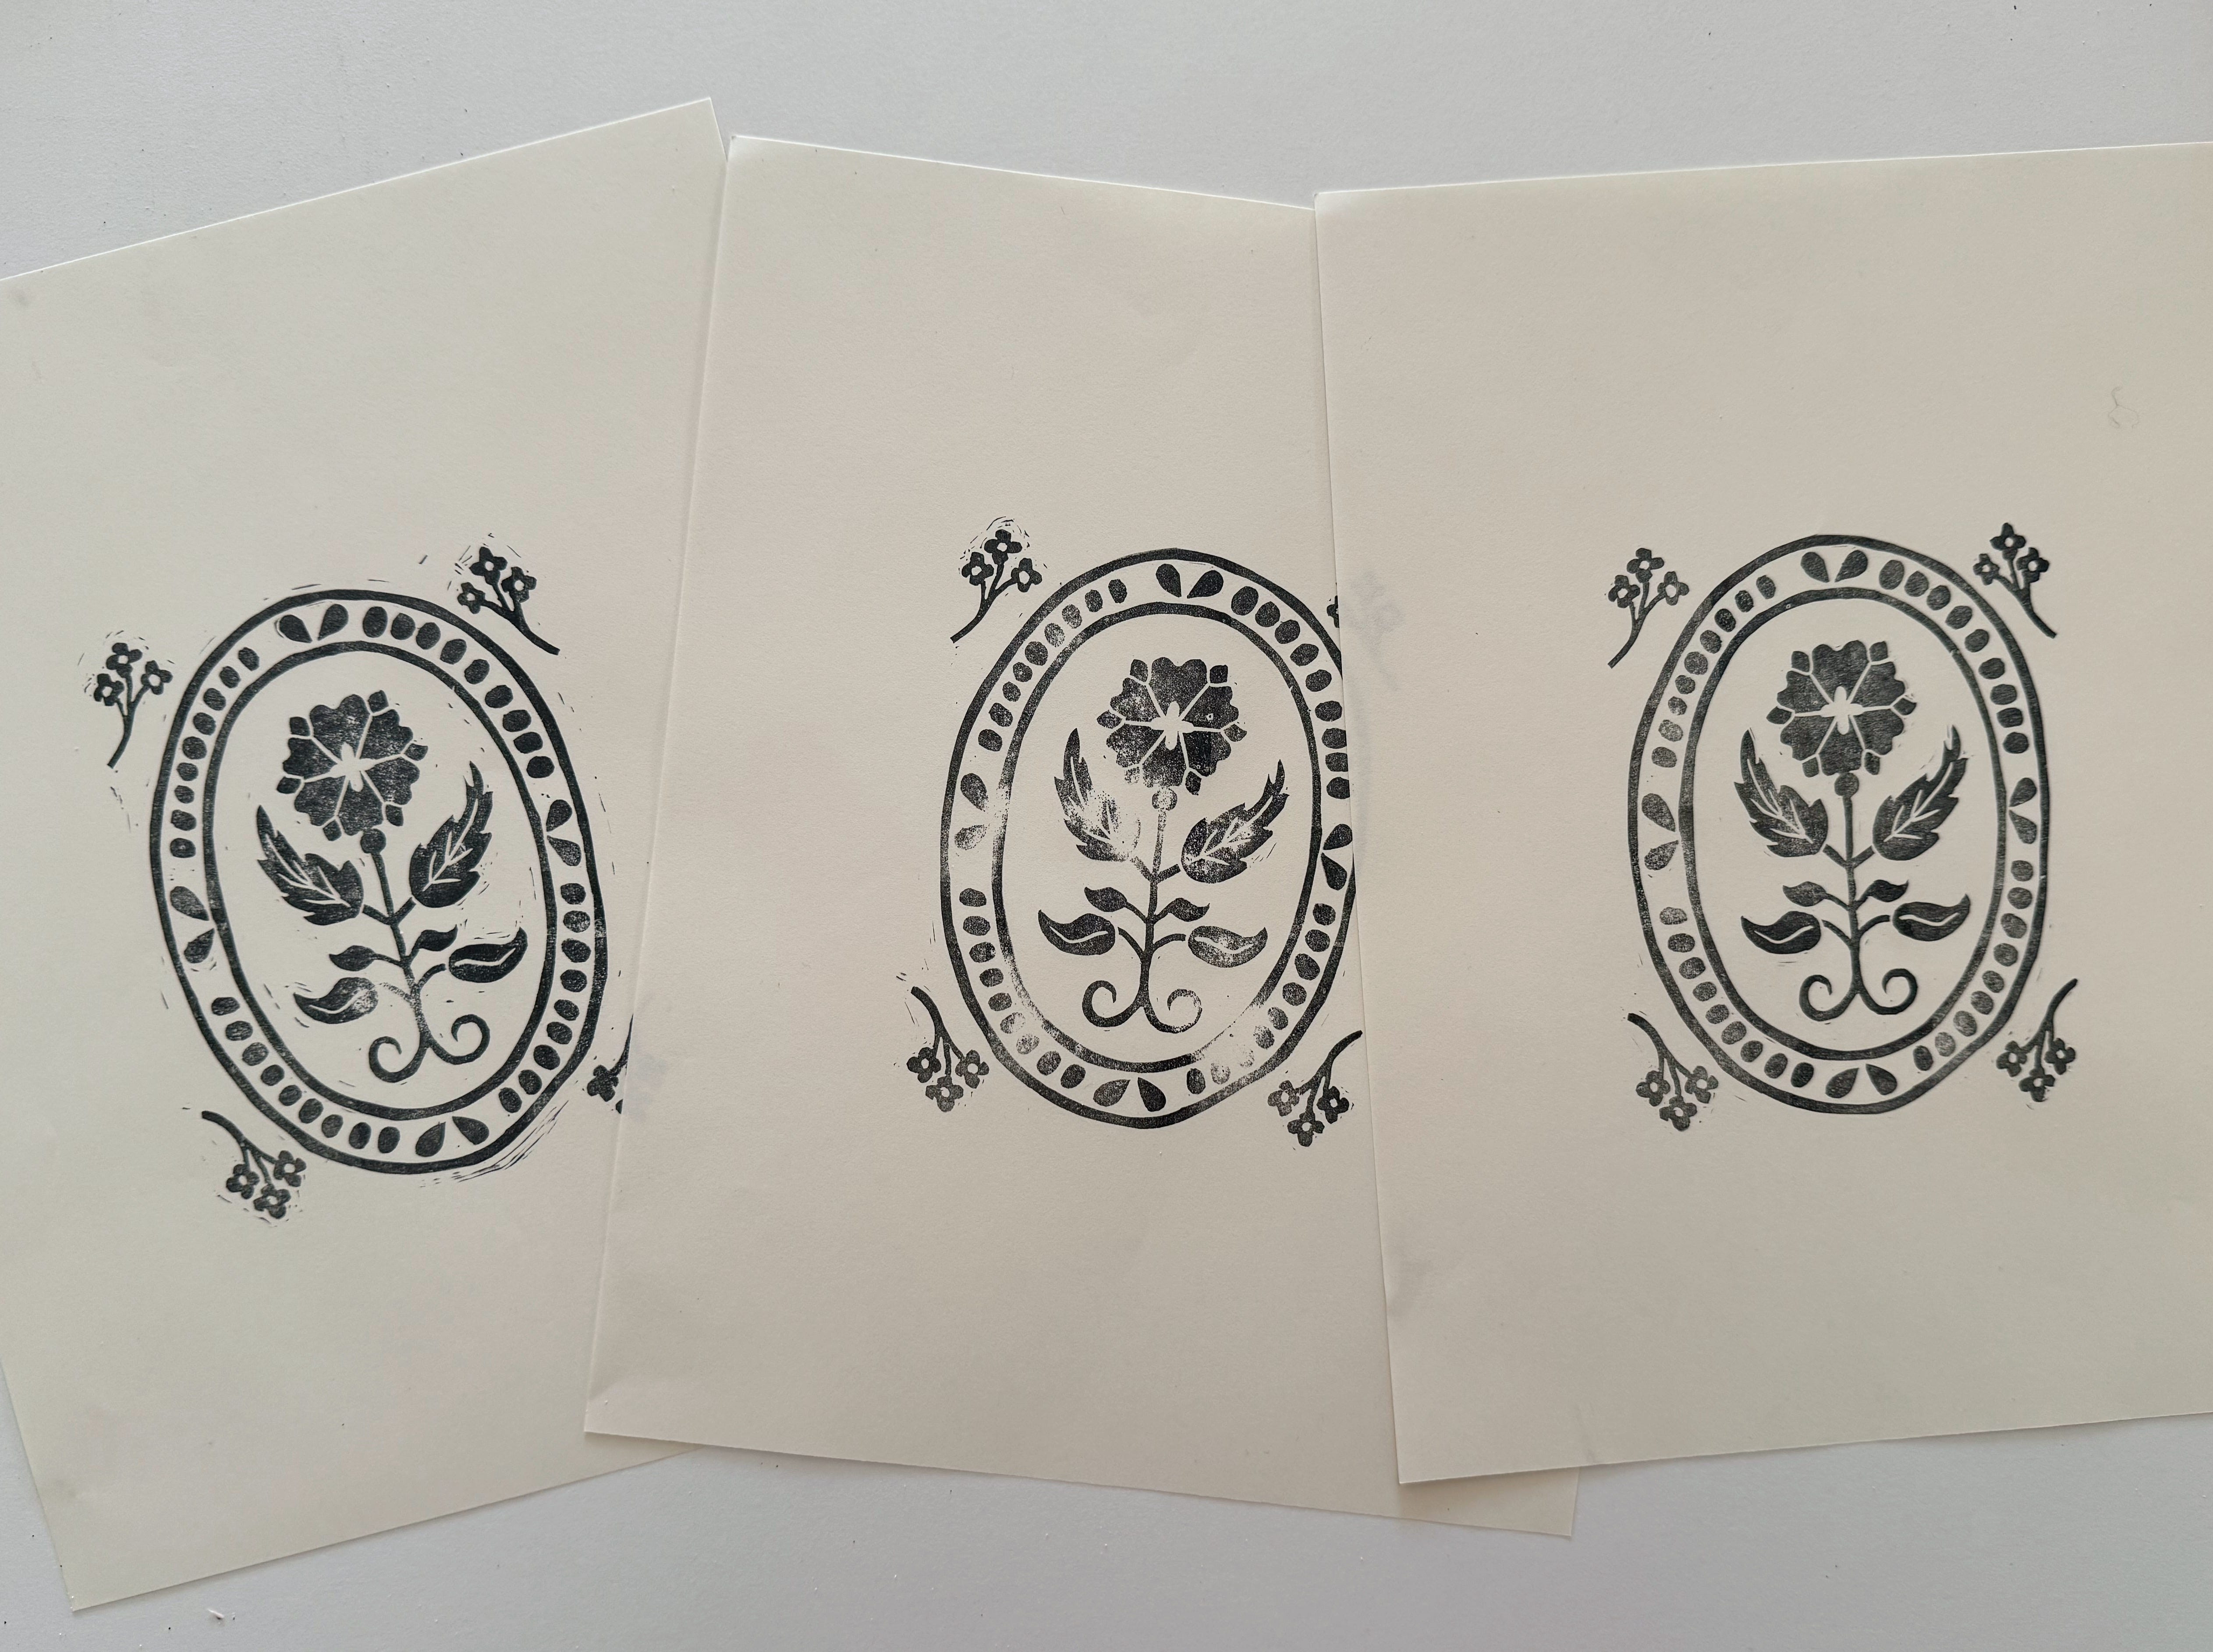
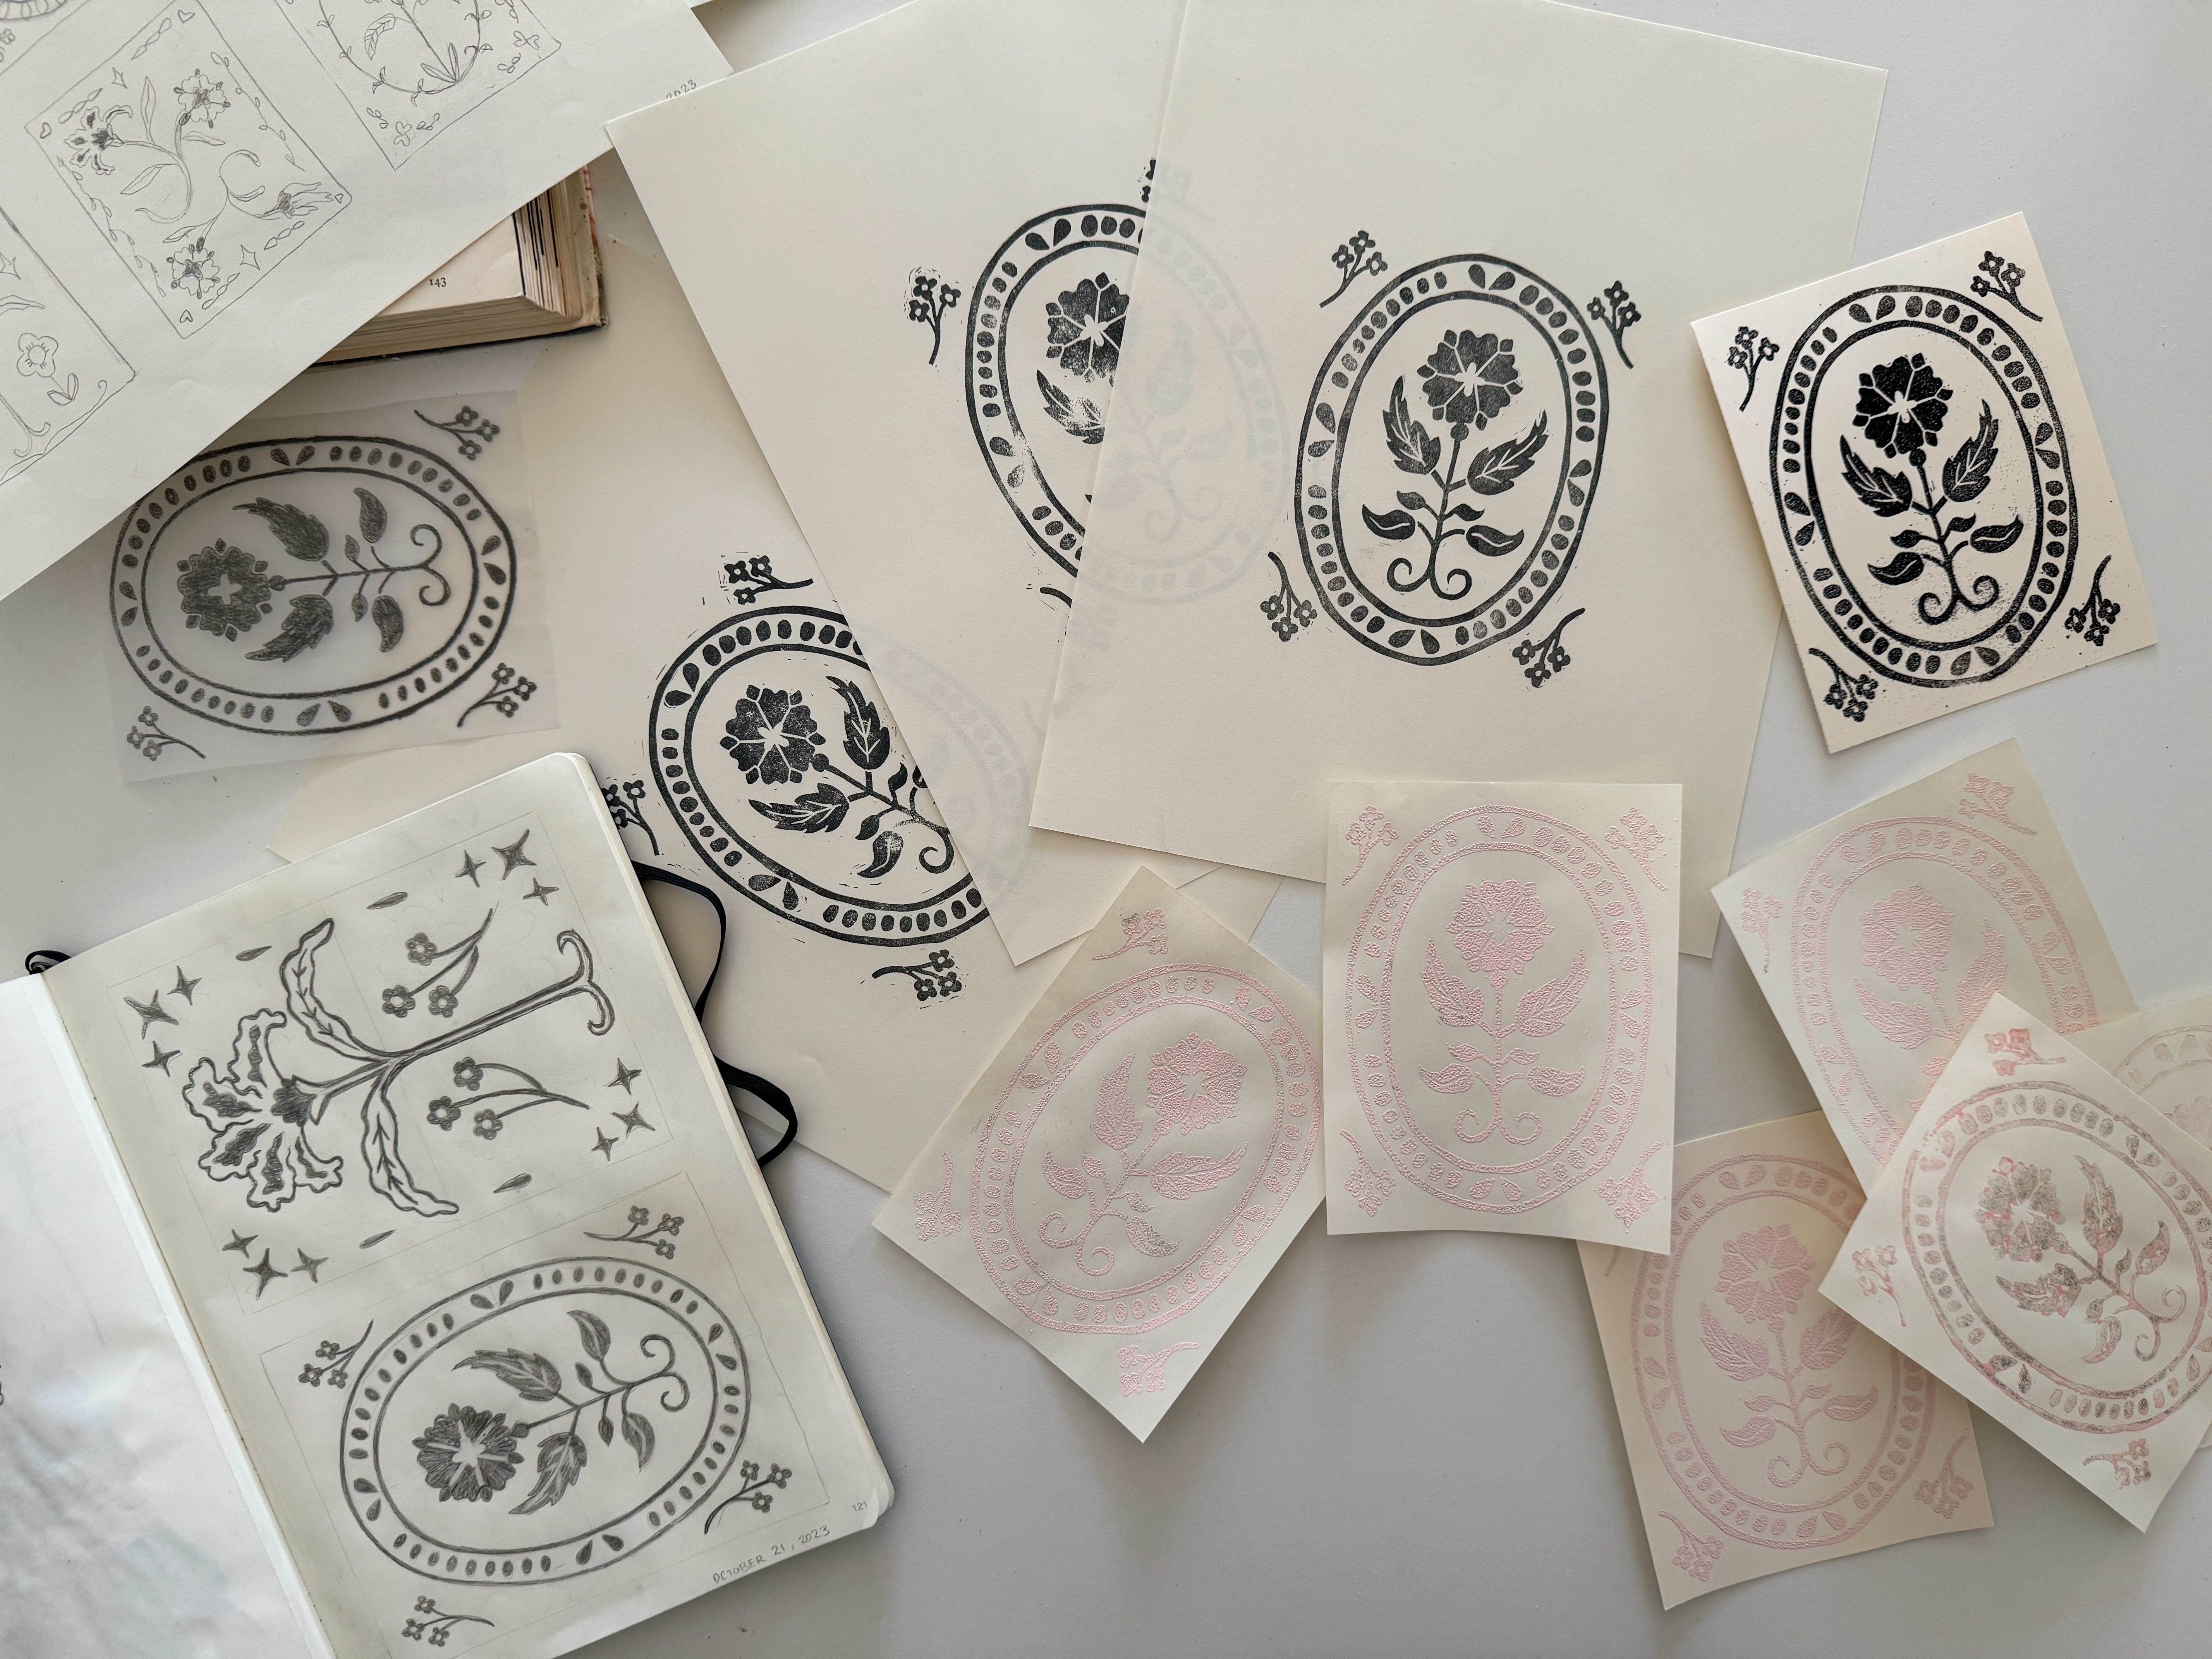
When the stamp was finished, I did a test print and then carved away any spots I missed. I did this several times until I had a perfect print!
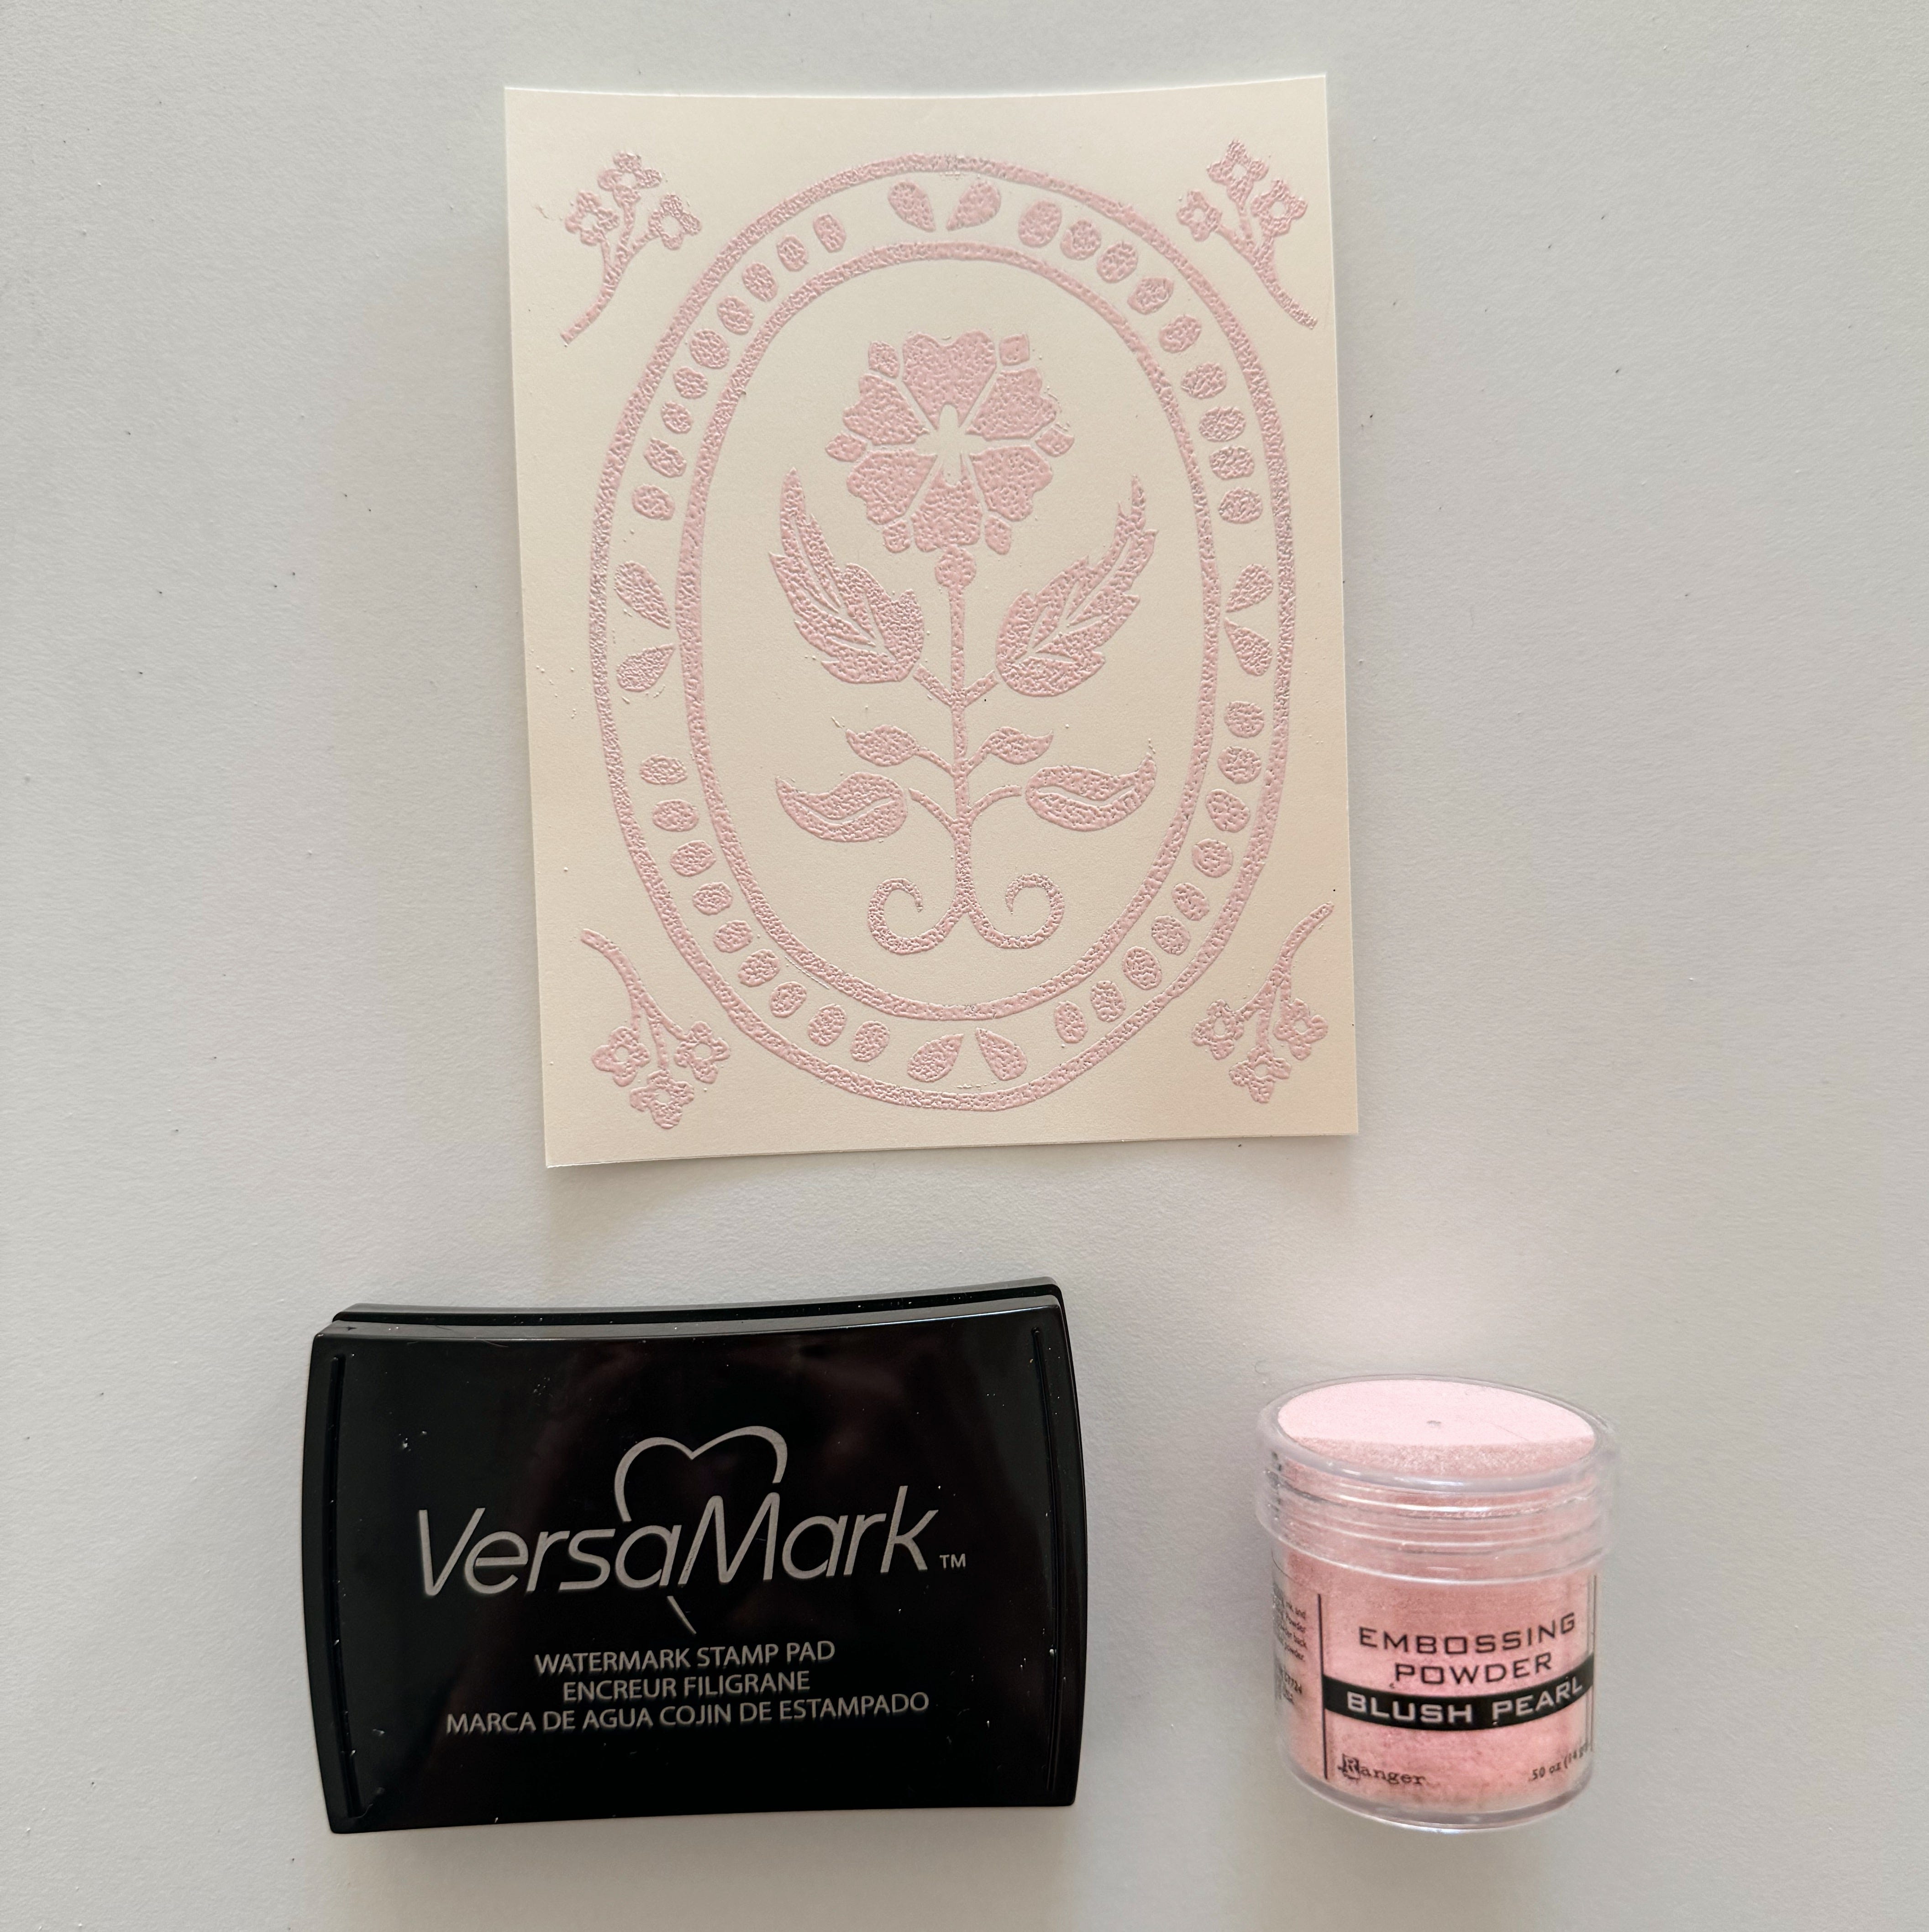
I did some prints with embossing powder and I love the subtle, raised texture it gives the design. To do this, I printed the design with the VersaMark watermark stamp pad and then sprinkled embossing powder on top. I tapped off the excess and then used a heat gun to melt the powder.
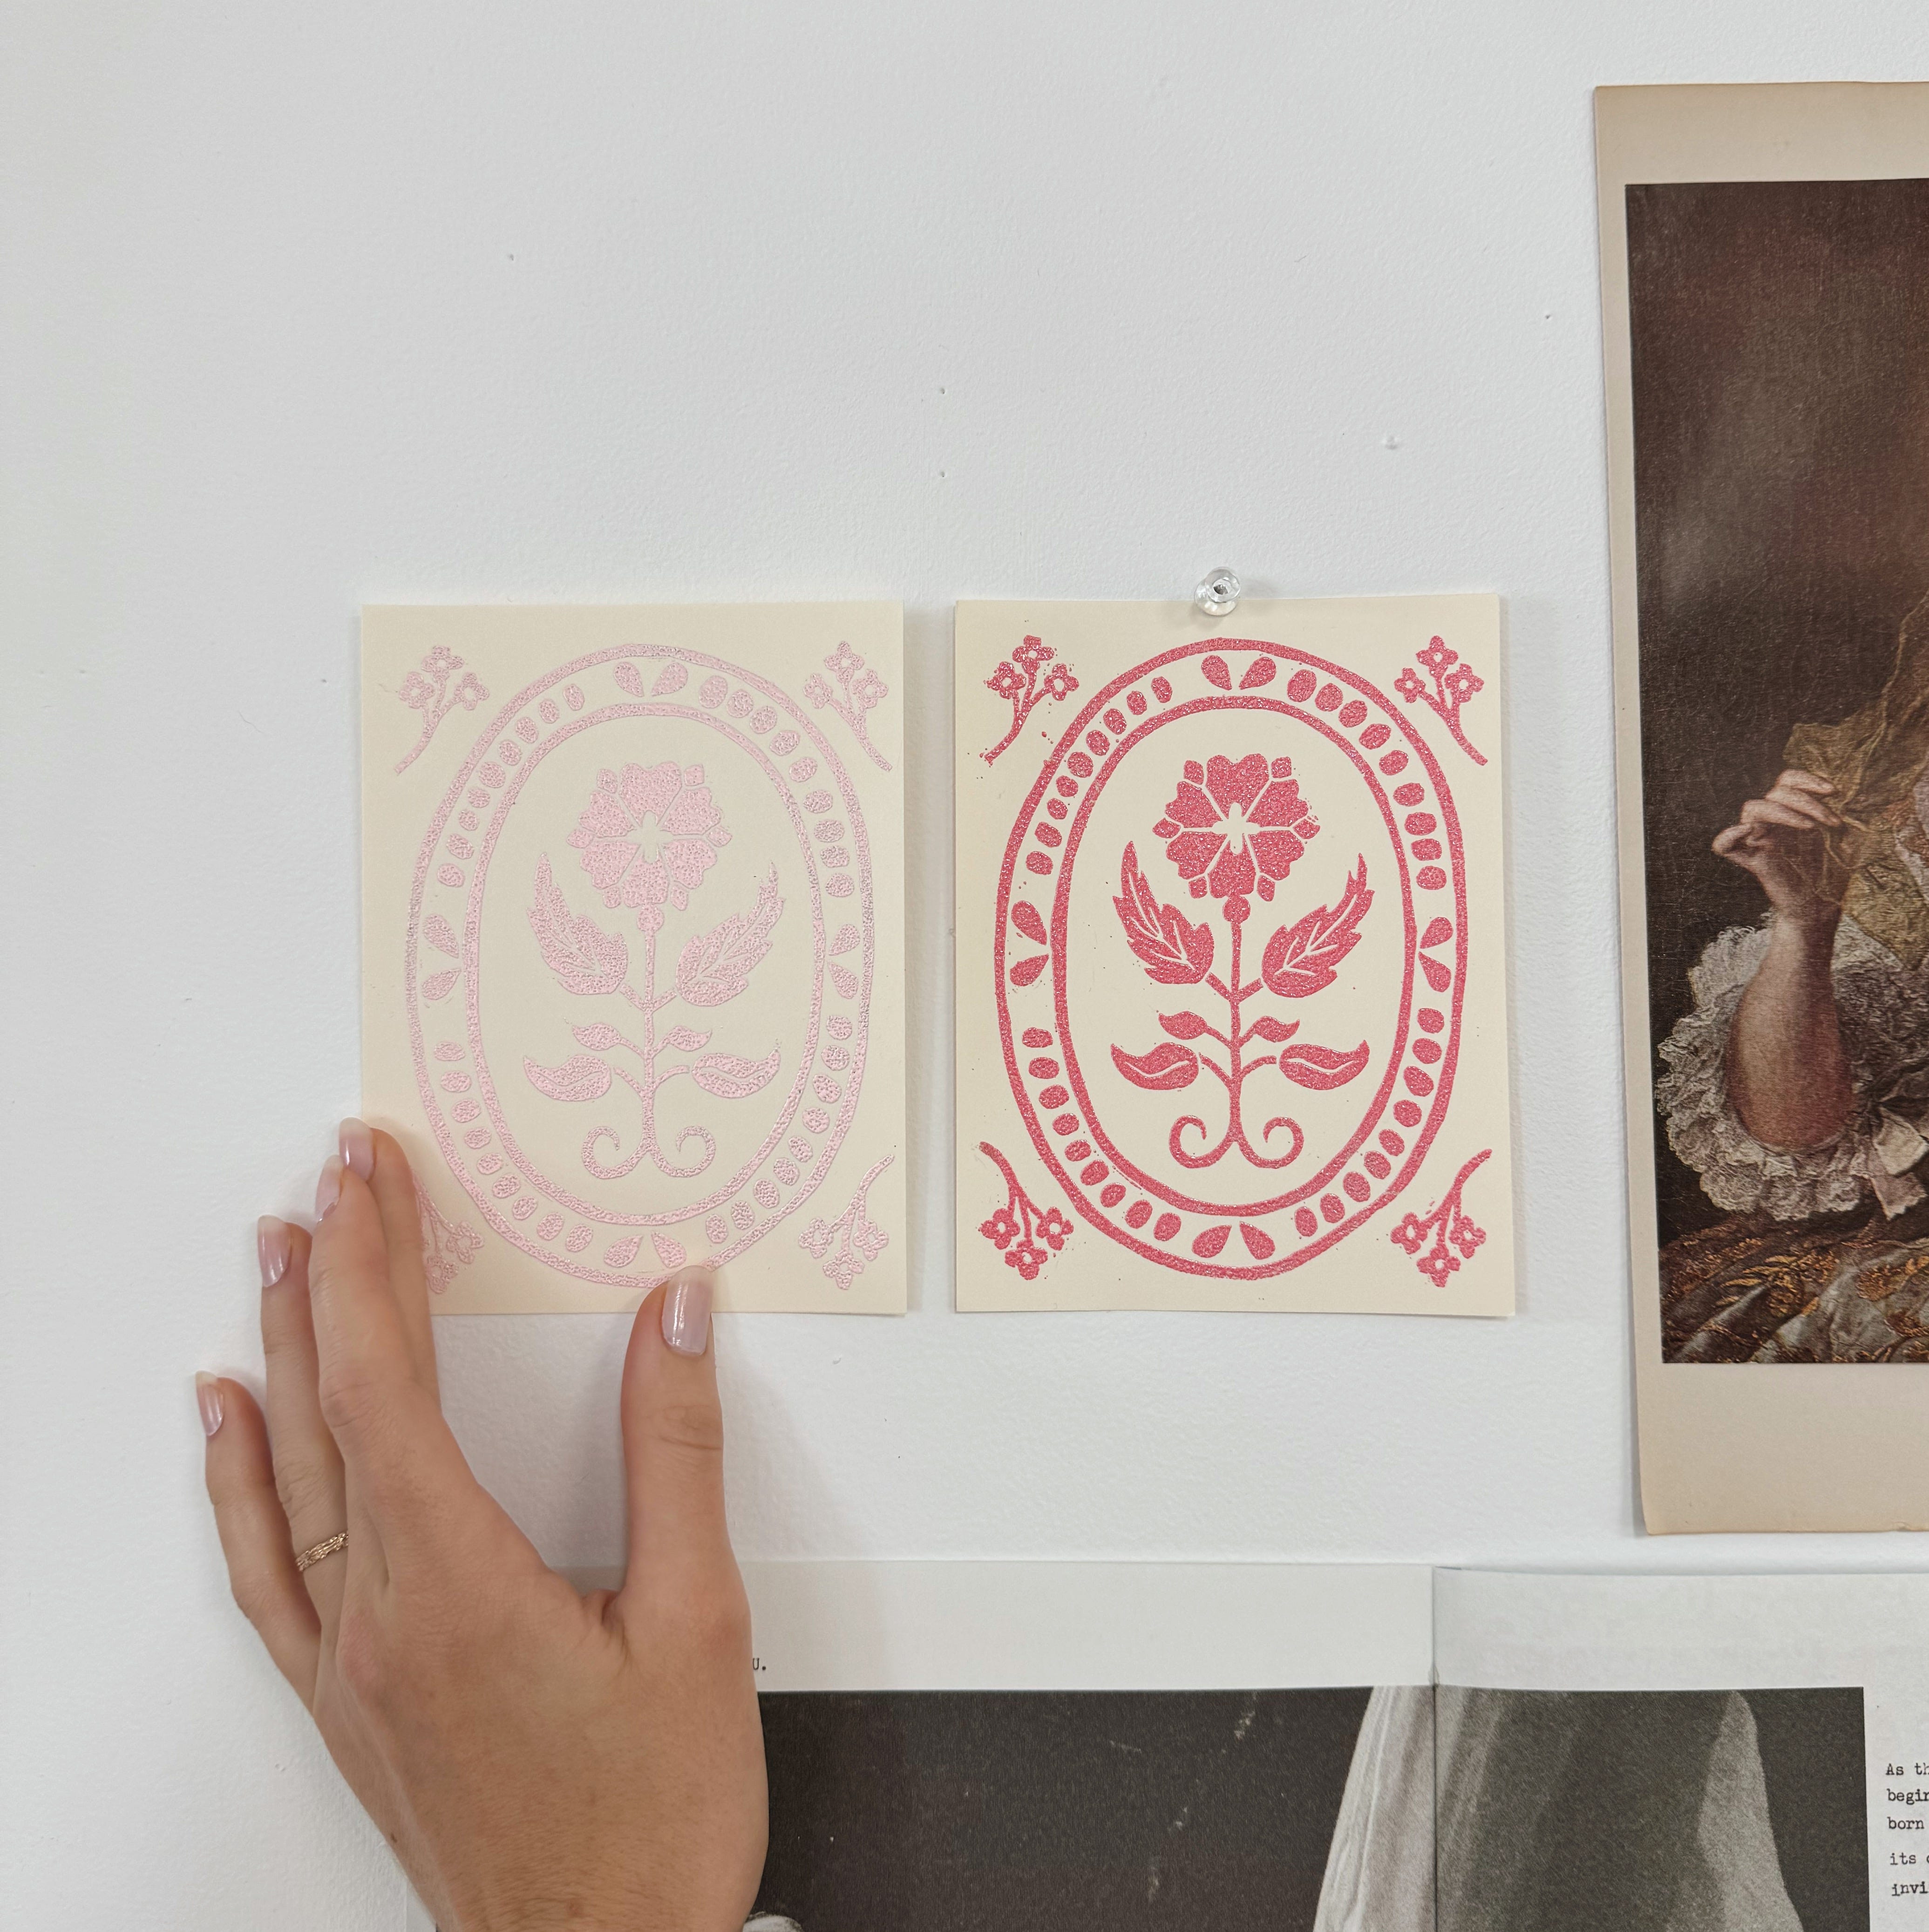
I love how this block print turned out and now I want to go back and turn more of my designs into stamps! ✿
Absolutely stunning!
Did you buy a block of rubber specially for this purpose or could you use any material you have at hand to start? (I.e. an old eraser thats pretty big but you never use, a piece of wood - the carving would be more difficult but the same principle?)